Idea generation and supplies gathering
A disclaimer: There is not now, nor will there ever be anything dangerous about this project. This is not actually a bomb, just a game replica.
If you’re reading this and don’t know about this project or the game Keep Talking and Nobody Explodes you should check out either the project page or the announcement post.
The Idea
I don’t remember exactly how the idea wormed it’s way into my head. The earliest record I have of the project is a note from July of 2017 that lists some of the possible future projects I could do, one of which is just “KTANE”. At the time I dismissed the idea as being infeasible because I had a shockingly small room in a 3 person apartment, and no space to really work on projects.
Jumping forward to November of 2017, I had moved into a bigger apartment with a basement workshop, started my first job after college, and used used my new income to set up a decent electronics workbench. The real tipping point though was the decision to purchase a 3d printer. Once I had a printer on the way, I started looking over my list of possible projects to see what I could use it for and this project jumped out at me. Finally! I had a way to make the front plates and other interface aspects!
This particular aspect was really important to me, I wanted this experience to feel like you had been pulled into the game. The modules should look as similar as possible, and the whole thing should be completely and easily reconfigurable. Before I had access to a 3d printer I felt that my only options to achieve these goals would be really clever laser cutting or sculpting, neither of which I wanted to deal with.
Planning it out
Nearly immediately after ordering the printer, I started planning out the modules.

|
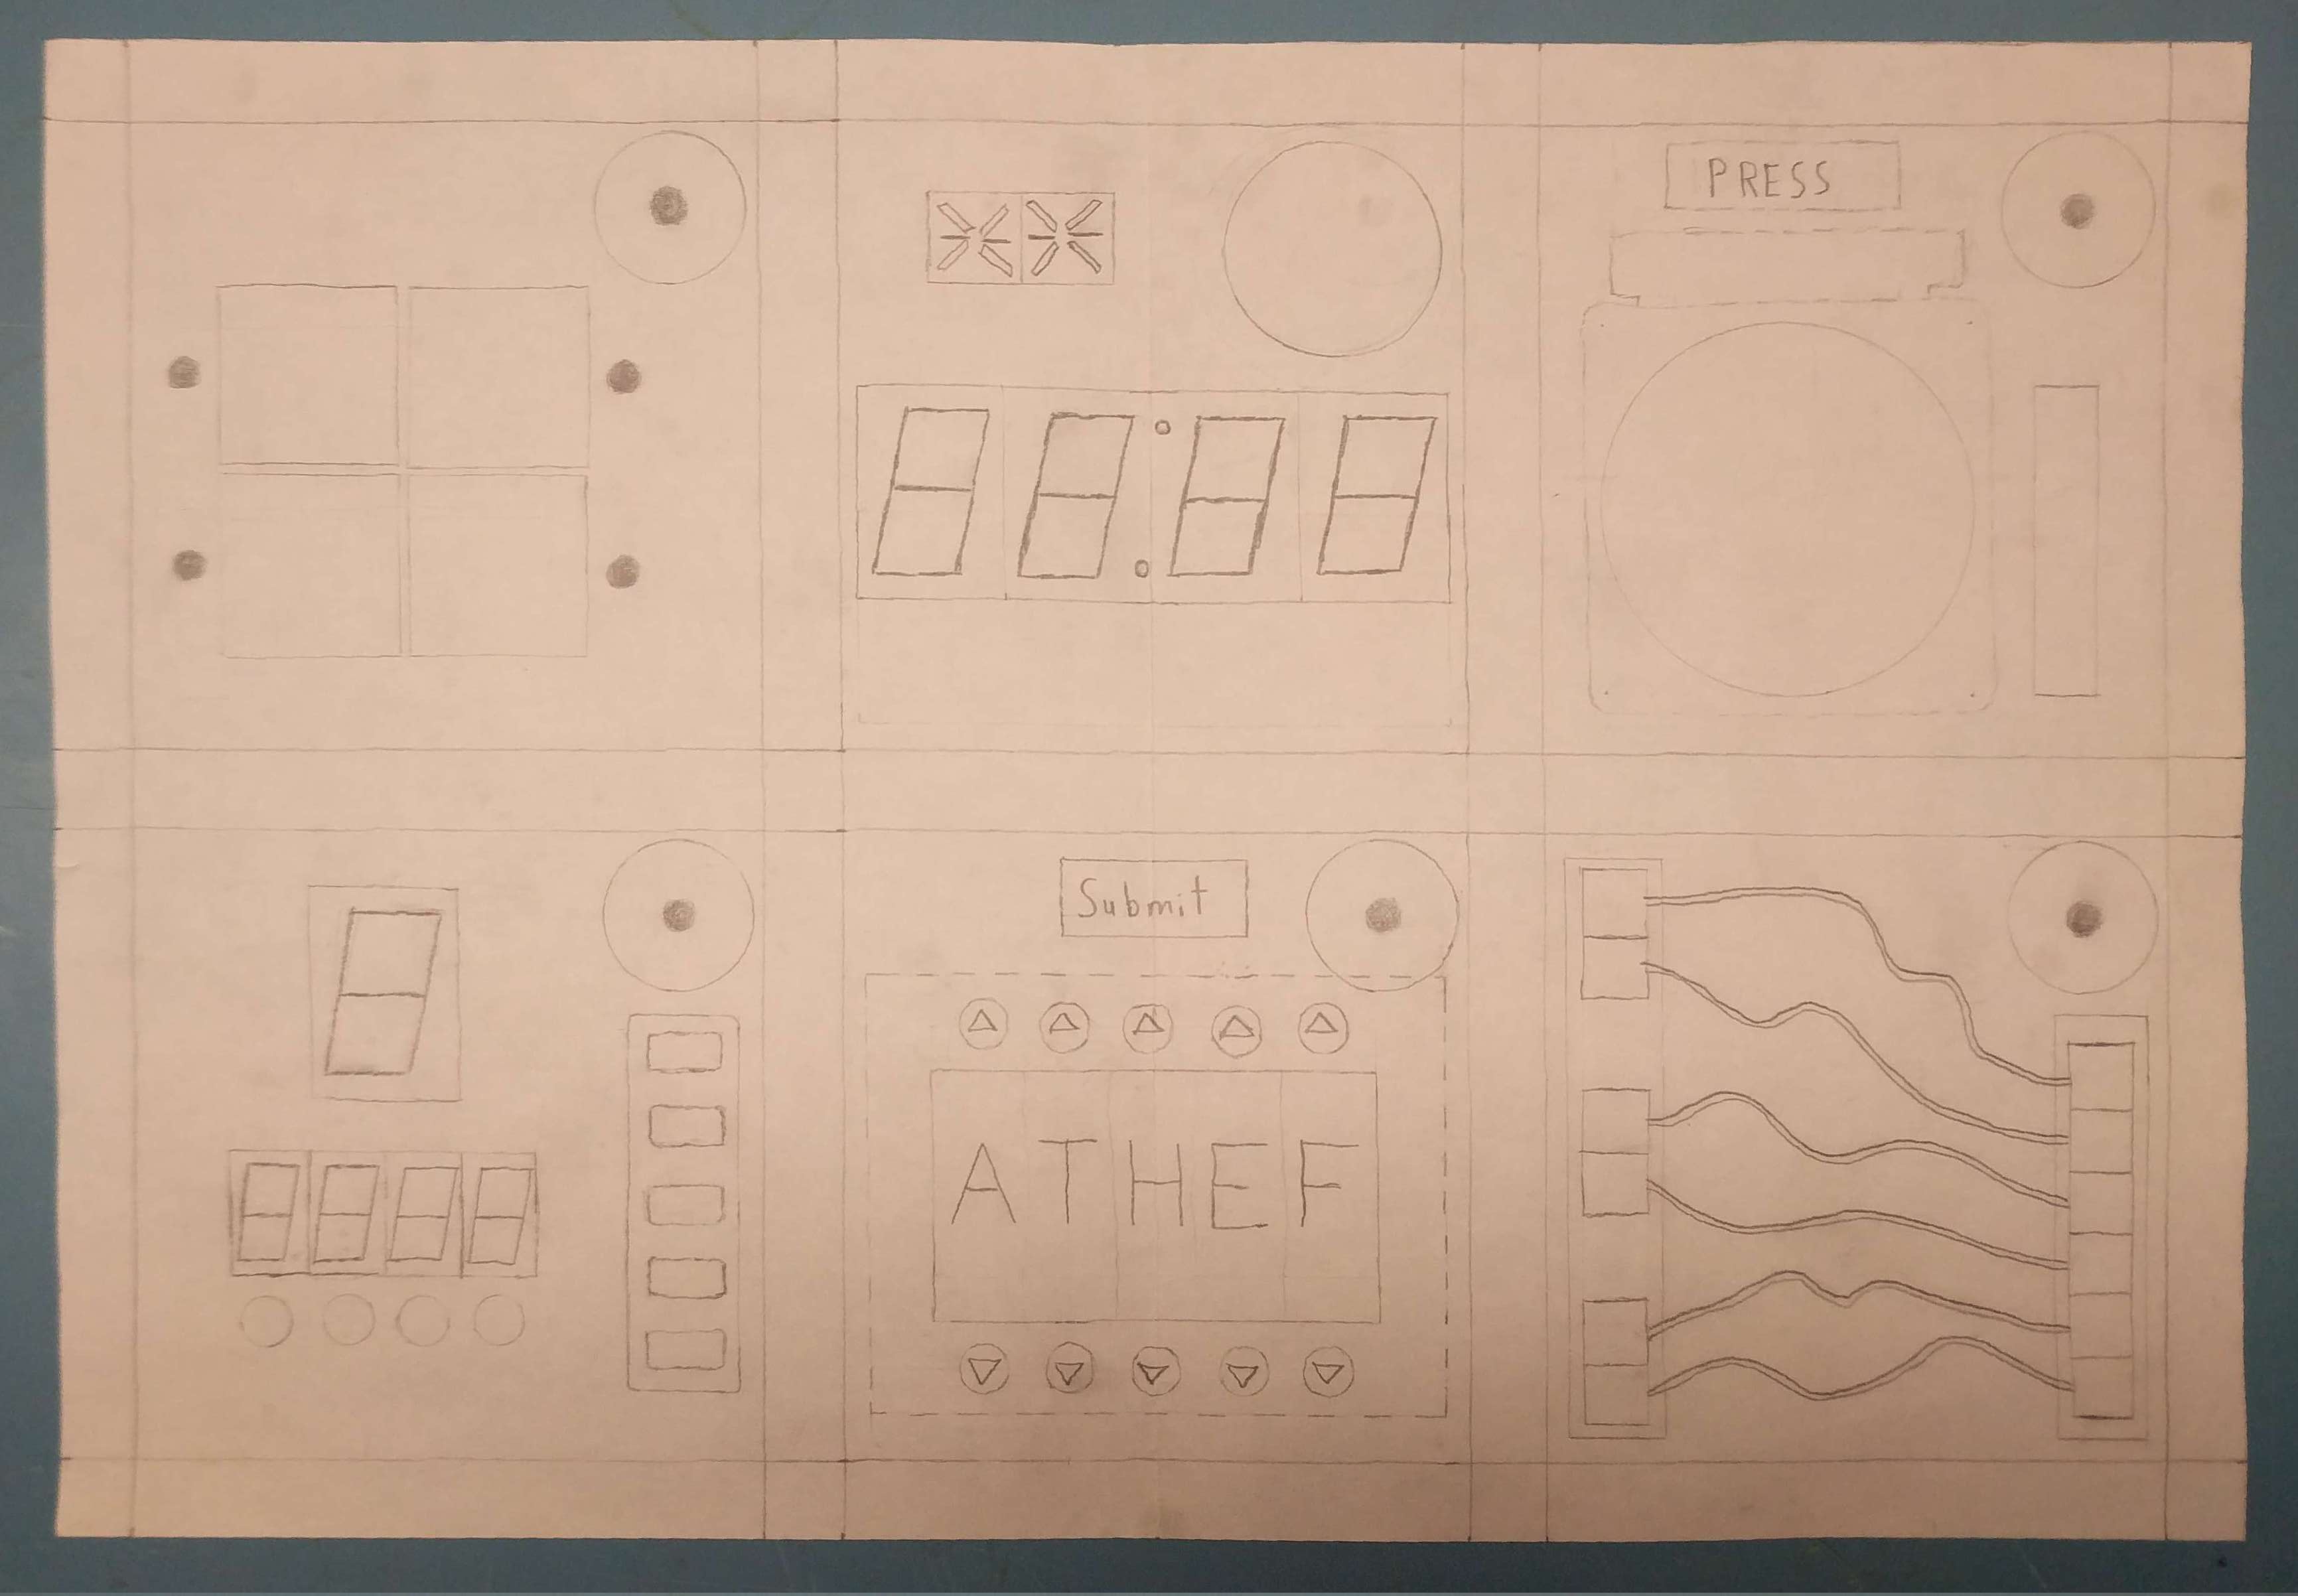
I started by doing some research on how large the modules were in the game. Basing the sizes of various things around components I knew I wanted to incorporate like LEDs and 7 segments, I ended up sketching out a design that was 9.5” x 14” with 4” x 4” modules. I would need to size things up a bit later, but this let me get started in planning out how to bring some of these modules into the real world.
On the topic of bringing the modules into the real world, I quickly realized that a few of the original game modules wouldn’t really work as they did in the game. A few of the ones that come to mind are “wire sequences” and “who’s on first” where elements that you are supposed to interact with repetedly retract inside the device and then re-emerge. There are a number of ways I could have done those modules instead, the most obvious of which is to just use screens, but I felt that defeated the purpose of the project. Everything here was supposed to feel like the real thing, no reminders that you were just playing what used to be a video game.
The final list of modules I ended up with was the following:
Original Modules:
- Memory
- Simon Says
- Wires
- Morse Code
- The Button
- Maze
- Password
- Keypad (symbols)
Mod Modules:
- Switches
- Letter Keys
- Twobits
- Crazy Talk
- Connection Check
Needy Modules:
- Venting Gas
- Capacitor Discharge
- Knobs
The modded modules were mostly chosen for their popularity and simplicity of manufacturing. At this point I had planned out exact parts for most modules and managed to keep the proposed cost per module under $20.
Getting the parts
After planning all of that out,I then proceeded to sit and do nothing until June of 2018. The 3d printer had arrived in Feburary and I finally had enough experience with it to start tackling a larger project like this, so I started gathering parts. Most of the parts were ordered off of mouser, digikey, and amazon, but what I couldn’t seem to find online was the case.
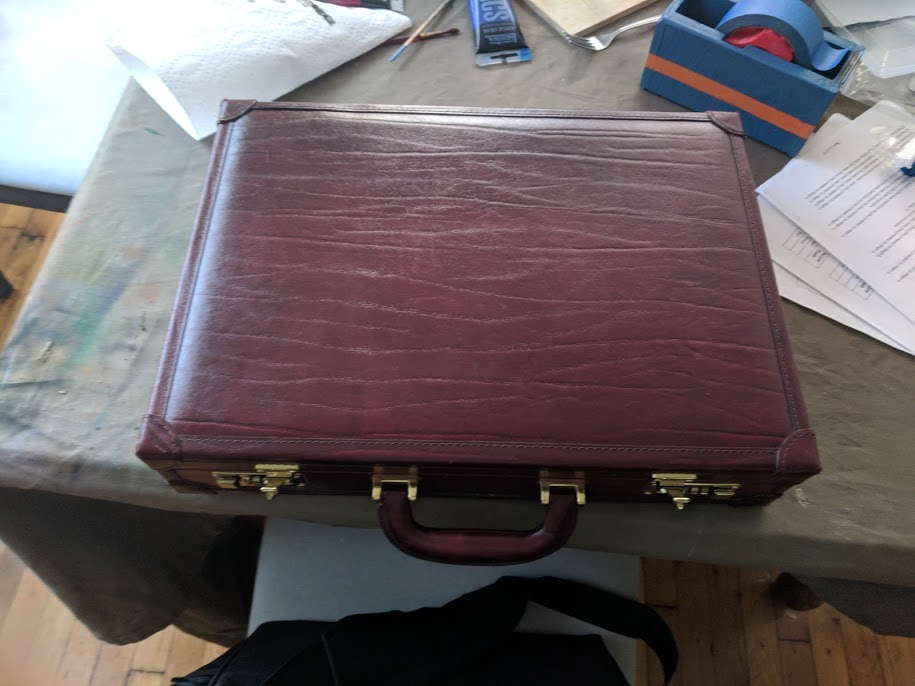
After a lot of flip-flopping, I decided that a case exactly like in the game wasn’t ideal, because unlike the game I couldn’t make my device magically float in front of the user. Having a double sided open device like in the game would mean that one side was constantly getting smashed against the table. So I settled for what I figured was the next best houseing for something like this: A briefcase. I really lucked out by finding what was basically a perfectly sized briefcase (with working latches and everything) at a local recyling based craft store called Creative Reuse.

|
Now that the parts were gathered and the first round of fitting was underway, it was time to start the coding. Continued in a future post.